
I've been working on a larger post where we work on window sizing and adding our edit and web preview views, but first a quick flyby: Menus.
Addings NSMenus is pretty easy.
- Open MainWindow.cs.
- Insert a new
overridemethod,AwakeFromNib, where we'll set up widgets. - Build your menu hierarchy, and attach to the
NSApplication.SharedApplication.MainMenu.
Wire-up existing menus
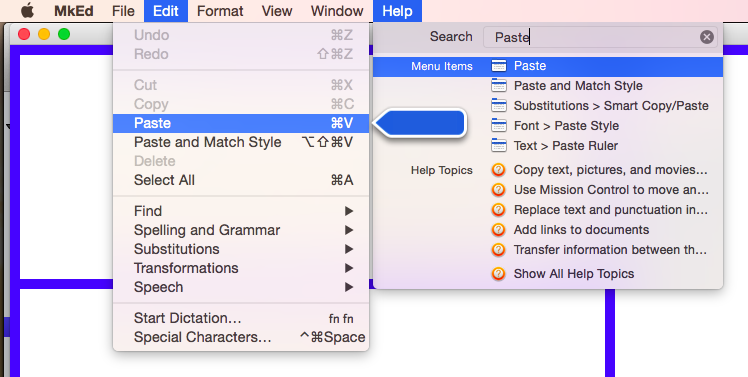
First, let's take some of the many menus that come "for free", apparently, when you set up a new MonoMac project. Out of the box, you've got the app menu, File, Edit, Format, View, Window, and Help. Some of them even do something -- for instance, if you select Help, you can type in the name of another menu item and have it highlighted in your UI.
So add AwakeFromNib to your MainWindow.cs file:
public override void AwakeFromNib ()
{
}
We'll create your UI inside of that new method, starting with wiring up existing menus.
Try this code as an experiment; it will show you the names of all the menus that come "stock", without any work on your part. (Honestly, it's kind of annoying to have to inherit all of this menu cruft. I was surprsied it was there.)
public override void AwakeFromNib ()
{
    foreach (NSMenuItem itemOuter in appMainMenu.ItemArray())
    {
        NSMenu menuTemp = itemOuter.Submenu;
        foreach (NSMenuItem itemInner in menuTemp.ItemArray()) {
            Console.WriteLine (itemOuter.Title + " :: " + itemInner.Title);
        }
    }
}
Go ahead and run your app. Your result should be something like this:
[YourAppName]MenuItems :: About [YourAppName]MenuItems
[YourAppName]MenuItems ::
[YourAppName]MenuItems :: Preferences…
[YourAppName]MenuItems ::
[YourAppName]MenuItems :: Services
[YourAppName]MenuItems ::
[YourAppName]MenuItems :: Hide [YourAppName]MenuItems
[YourAppName]MenuItems :: Hide Others
[YourAppName]MenuItems :: Show All
[YourAppName]MenuItems ::
[YourAppName]MenuItems :: Quit [YourAppName]MenuItems
File :: New
File :: Open…
File :: Open Recent
...[Edit, Format, View, Window removed]...
Help :: [YourAppName]MenuItems Help
So this time, instead of iterating through all of the menus and menu items, let's grab the File and Open… menu items to wire up Open….
Note: The word
Openis followed by a non-ASCII ellipses:…. That's a single character. We know that because that's what was reported in our menu iteration.It's also worth saying I really dislike this code we're creating for production. If we were on a French machine, would we have the same word? Would
Open…still work even if the text is different? Ultimately, I'd probably want to remove as many of the stock menus as possible and start building all the menus from scratch so that I can control. We'll see after we play around.
Let's put all this in a try...catch just in case the by name lookup goes insane. For now, we won't use a centralized error handler, but at some point you will want to log errors to a file and display them intelligently.
try
{
    // Grab the submenu hanging down off of the File menu.
    NSMenu mnuExisting = appMainMenu.ItemWithTitle ("File").Submenu;

    // Now search it for the Open… menu item.
    NSMenuItem mniOpen = mnuExisting.ItemWithTitle("Open…");

    // And hook up an event handler.
    mniOpen.Activated += (object sender, EventArgs e) => {
        Console.WriteLine("Open");
    };
}
catch (Exception e)
{
    Console.WriteLine ("Error: " + e.ToString ());
}
Now if you select the File >>> Open menu, "Open" will be written to the console, representing, well, the ability to do anything you want in your app. Yay!
Create a new menu
Next, let's create a new NSMenu of our own! For now, we're just going to add another menu to the end of this existing list.
To "anchor" your menu, you need to add it to the existing, top-level application menu that runs on the top of the screen. As we saw above, that bar across the top of the app is an NSMenu, as is the scaffolding for each of the drop-down menus beneath it. Somewhat unintuitively, you have to add an NSMenuItem to an NSMenu even if you want that spot to be taken by a sub-NSMenu. So we need to create one NSMenuItem to put on the main menu, but then we attach an NSMenu to that NSMenuItem's Submenu. And the NSMenu's title will override the title we set up for the NSMenuItem.
This will make more sense in code, perhaps. ;^)
public override void AwakeFromNib ()
{
    // Note that this title won't be seen, strangely.
    NSMenuItem mniFizz = new NSMenuItem("Fizz");

    // *This* is the title you'll see at the top level menu.
    NSMenu mnuBuzz = new NSMenu("Buzz");

    NSMenuItem mniPreview = new NSMenuItem("Preview Markdown");
    NSMenuItem mniExport = new NSMenuItem ("Export to HTML");

    mnuBuzz.AddItem(mniPreview);
    mnuBuzz.AddItem(mniExport);

    mniFizz.Submenu = mnuBuzz;

    // Now add your item to the existing main menu.
    NSApplication.SharedApplication.MainMenu.AddItem(mniFizz);
}
I think, aside from the item vs. menu title usage, that's all pretty self-explanatory.
The last thing we need to add is an event handler. I'm going to go the simplest route, and add an anonymous handler for now, again inside of AwakeForNib.
    mniPreview.Activated += (object sender, EventArgs e) => {
        Console.WriteLine("Preview Markdown");
    };
Now, when you click on the "Preview Markdown" menu, you'll get that written to the console. Obviously we could do much cooler stuff once we have an actual app behind it.
Add a menu item to an existing menu
The last thing I'm going to do is to add a special Copy button to my Markdown editor. If there's one thing that drives me crazy about the ones I've used on a Mac, it's that I'm always exporting to html, then opening that file in VIm, then cleaning out everything up to and including the <body> tag, and the cleaning up the last few lines and </body></html> etc. I'd rather just be able to hit Command+l and bam, have the html source in my system clipboard.
I think we can make that happen (though I might later add a preference for putting all of the html into the clipboard, understanding not everyone wants a cleaned version every time.
// First grab the Edit menu.
NSMenu mEdit = appMainMenu.ItemWithTitle("Edit").Submenu;

// Now create the new NSMenuItem. Note the `"l"`, which
// will be our keyboard accelerator (when Command is also pressed)
NSMenuItem iCopyAsHtml = new NSMenuItem ("Copy as HTML", "l");
iCopyAsHtml.Enabled = true;

iCopyAsHtml.Activated += (object sender, EventArgs e) => {
    Console.WriteLine("Copy as HTML");
};
mEdit.InsertItem(iCopyAsHtml, 5);
Again, this method of menu insertion and creation is not defensively coded at all. Later, we'll either remove everything and then add our menus, or defensively look for each menu we depend on and handle its existence or lack thereof. If you look over at MooStep, for instance, the first thing that he does is var mainMenu = new NSMenu();, and the last thing is to put that into the app's MainMenu with NSApplication.SharedApplication.MainMenu = mainMenu;
Creating a menu from scratch makes us know for sure that there's no extra menu items that we didn't create and less reason to do the careful stepping around what's already there, and that's A Good Thing. Honestly, I just don't what to lose that Help menu, and I don't know how to create that from scratch yet. ;^)
And voila, we've got functional menus.
No comments:
Post a Comment